|
|
| [ TechGuys ] | [ Forum ] | Emergency Vehicle Strobe Installation | [ Projects ] | [ How To ] | [ Email ] | [ Links ] |
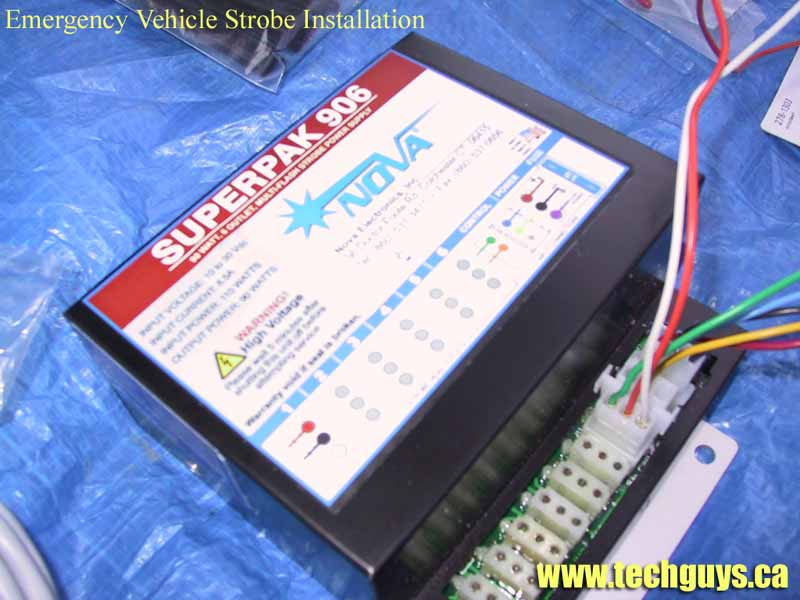
This project will cover the installation of a Nova Electronics emergency vehicle strobe installation. In most cases, the following parts & tools will be required for a clean installation:
[click for larger image]
|
| You may be asking: "why on
earth would I want a strobe light kit in my car?" If you are, then
just read on for pure interest, otherwise, you know exactly why you
want a strobe system. This installation topic will not cover those piece of sh** strobe kits that companies such as Toucan and Euro(crap) sell We've had those kits before and they suck! The aforementioned kits only put out maybe 20w of light (headlights run at 65-90w). The kit we will be installing has the following features:
On the topic of legality: NEVER drive with your strobe lights on! In most cases, it's instant impoundment of the vehicle, and generally a $2000+ fine! Oh, and if you do anything stupid while installing or using your kit, you alone take the heat for it ! We claim NO responsibility .. having said all that B.S. here's how to do your install:
|
|||
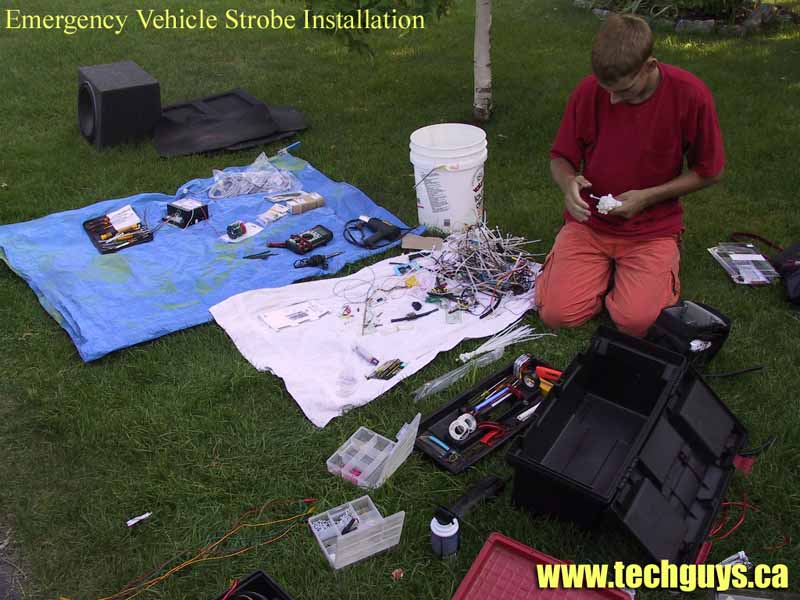
| For starters, lay everything out and check
over your parts and equipment list for any deficiencies before you
get everything torn-down and ready to install! It is often handy to have a tarp or similar material laid out to keep all your parts together and organized. As you will see in figure 1, we started out by totally re-organizing our toolboxes .. it was long over-due. BTW: That's Geoff in the picture. |
figure 1 |
||
|
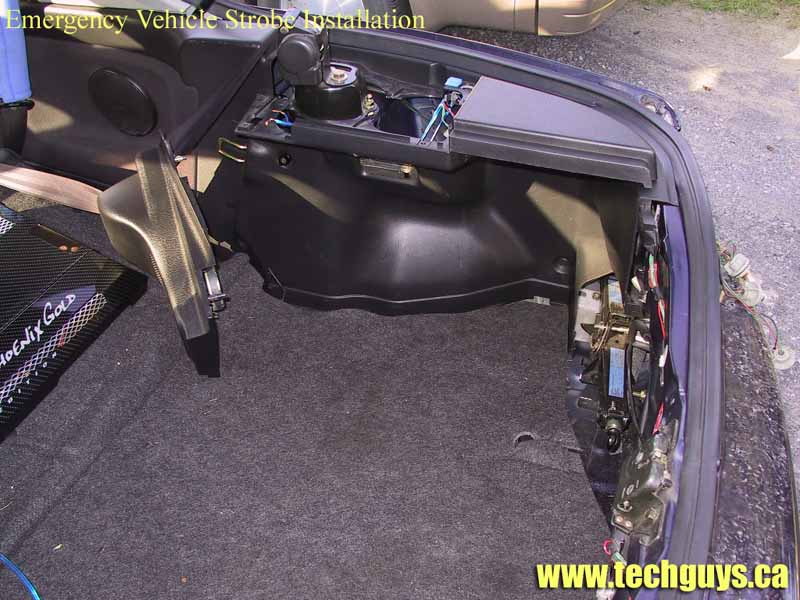
figure 2 |
Next step will be to remove the lighting
fixtures which you will be drilling + installing the strobe bulbs into. Take care not to break anything at this point! After all, you're just starting. Seen to the far left of figure 2 is the Phoenix Gold Octane (number 9 of 24) |
||
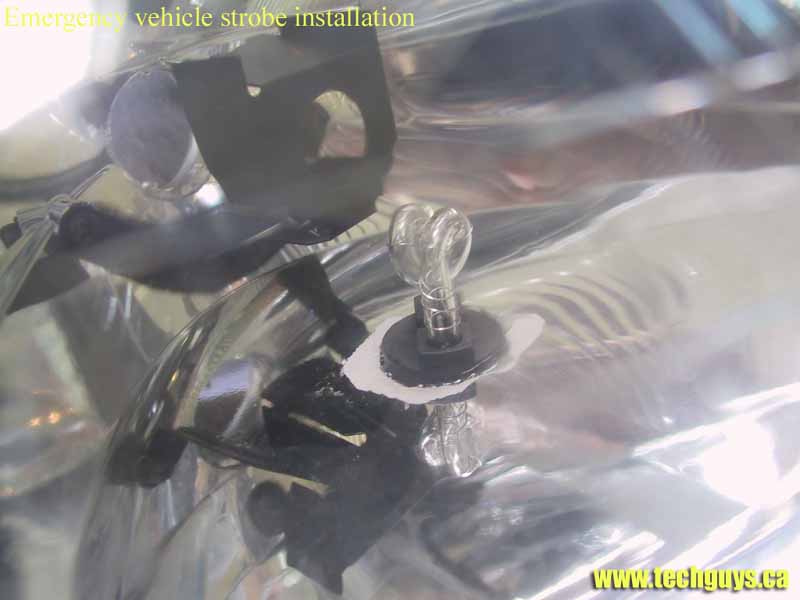
| Once you have the lighting fixtures from the
front and the rear of your vehicle, you may now drill out the mounting
holes for the strobe bulbs. The bulbs which we used were 1" in diameter, and we opted to use a spade bit - don't ! Use a dremel tool, or an appropriate bit to drill out the hole - it will prevent damaging the reflector surfaces. One important thing to note is clearance between the lighting fixture and the vehicle body - this is important because you will have some wires which will occupy some of that space! |
figure 3 |
||
|
figure 4 |
Once you have decided on a drilling location
and have drilled out the bulb fixtures, install the strobe bulbs and goop
the mating surfaces to keep moisture out! [figure 3] The next step will be to find a location for the strobe "master unit". This should be a location which is somewhat centered in the vehicle to allow the high-tension (voltage) strobe wires to reach all of the bulb locations. We chose to mount our "master unit" between the body and the internal frame (to use "dead space"). Turns out that Mazda Precidia (MX-3s) have rather large voids which come in handy! Note: Unless your unit is waterproof, we suggest you find a dry location for the control unit! |
||
| The next step will be running the
high-tension (voltage) strobe wires. A word of wisdom on this one: If the wires will eventually have connectors (and have the "pins" pre-crimped) be sure that you run the wires in the proper polarity. Ie. Our master unit has all female pins on the unit and we unknowingly ran two of four wires backwards!
The trick here is to do a "dry run" to ensure that you have the wires (and connectors) on the proper ends, and to ensure that there is enough wire to reach all of the strobe bulbs. |
figure 5
figure 6 |
||
|
figure 7 |
Once all of the wiring has been run internally, pull the wires through to the outside of the vehicle ensuring that you seal any openings in the firewall with the silicone compound (in our case, goop) | ||
| Once all of the wires on the front-end are
run and sealed, do the same in the rear of the vehicle. As mentioned above, note how any hole(s) from the exterior of the vehicle leading to the interior have been properly sealed. The trick to doing a good sealant is surface preparation - remove ALL petroleum products by using a little acetone or methyl hydrate (gas line antifreeze) |
figure 8 |
||
|
figure 9 |
Once all wires have been run (including power and ground for the strobe controller) test the entire system to ensure you can achieve the desired strobe pattern (you can change the blink pattern to have opposing corners flash at the same time, or have the "same side" flash pattern). Once the test is complete, install your switch bank and test the operation of the various "switched patterns". |
||
| After the bulk of the work is done, install the switches in a good location (in our case, the center console). We have found this location to be superior in many applications. |
figure 10 |
||
|
figure 10 |
Once you are at this point, you should be all
done - perhaps with a few finishing touches to be made.
=) |
||
| [ TechGuys ] | [ Forum ] | Emergency Vehicle Strobe Installation | [ Projects ] | [ How To ] | [ Email ] | [ Links ] |
(c) Copyright 2019 - James Buck - www.techguys.ca